
|
Reused
|

view from the left

|
Inspiration
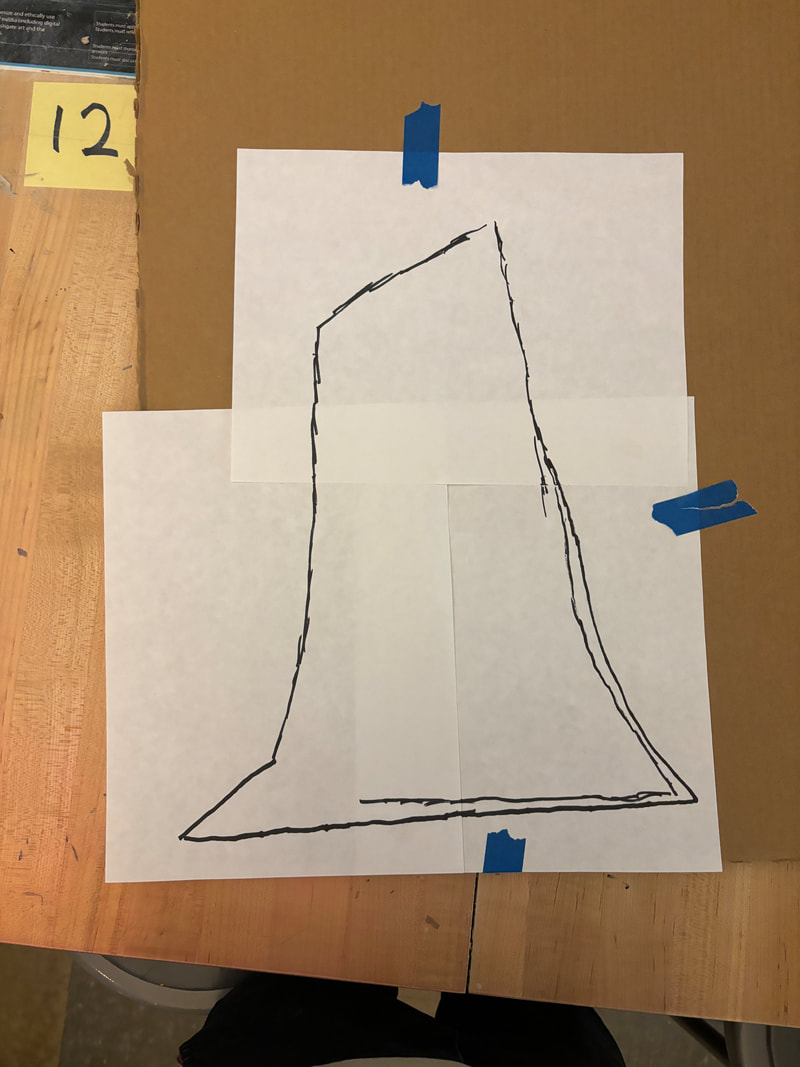
The piece that I am going to use as inspiration is Union II by Yaacov Agam, made in 1977. I chose this piece because I like how the art piece changes the way you see it based on what angle you are looking at it from. Yaacov Agam is a world-renowned artist that pioneered a new form of art that contemplates progress. Yaacov Agam became one of the most influential modern artists after 1953 when he had his first solo exhibition in 1953. Yaacov Agam has his art in many different museums around the world. Union II sits in the Milwaukee Art Museum and that is how I know about it because I've seen it many times in my life. This piece is made with oil paint on wood. This piece was made with long angled wooden spikes that go down the wall mount. Yaacov Agam painted on these wooden spikes with a large scale of oil paints, with many warm and cool colors. Agam painted warm colors on the right of the side of the spikes and cool colors on the right of the spikes. After Agam painted these long wooden spikes, he glued them to a big white rectangle box made out of wood. After Agam did this step, his artwork Union II was complete. Planning I started my planning phase with three idea drawings. My first drawing was of a tree with a red on one side and blue on the other side. For my second drawing I made a flower that comes out of the wall that is supposed to look like it is growing out of the wall. My last Planning sketch is of a deer head mounted on a wall that is supposed to look like taxidermy. I landed on the tree drawing because I feel like it best fit my theme of the environment. I also chose this drawing because I felt like the inspiration worked with the 3-D element of this piece. After I chose which drawing I wanted to do I made a more detailed sketch with the size that I wanted to make this piece in. This detailed drawing would come in very handy in future because |


|

|


|


|
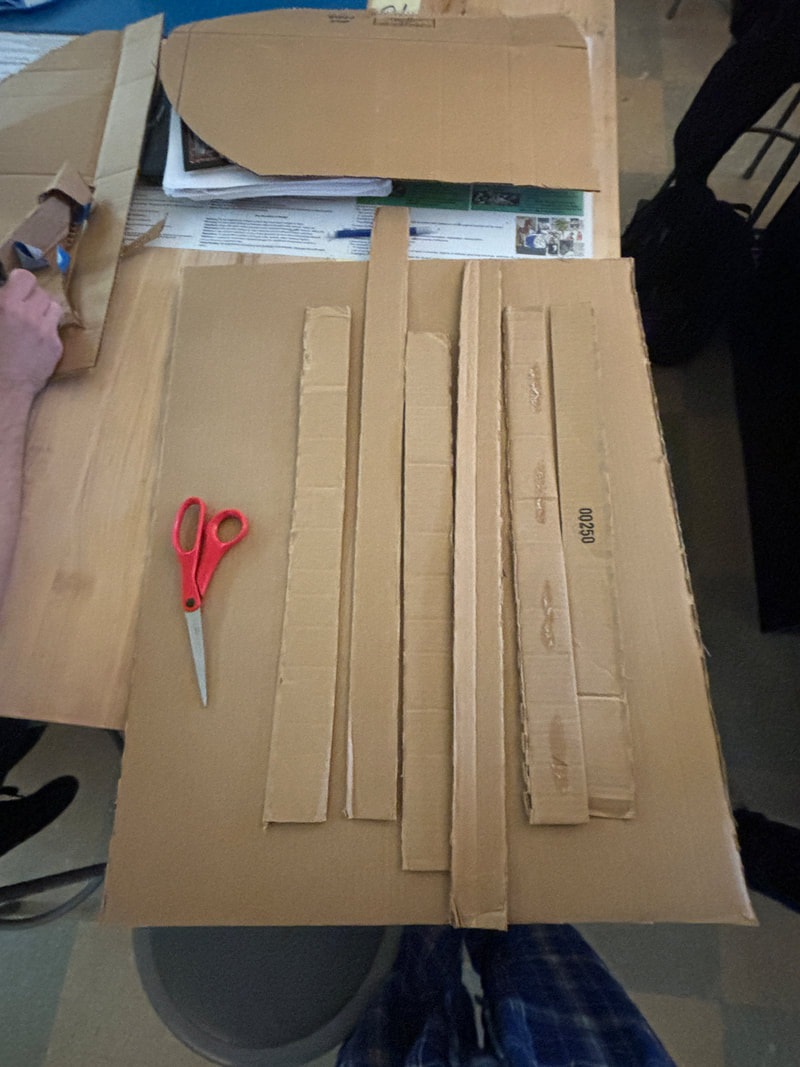
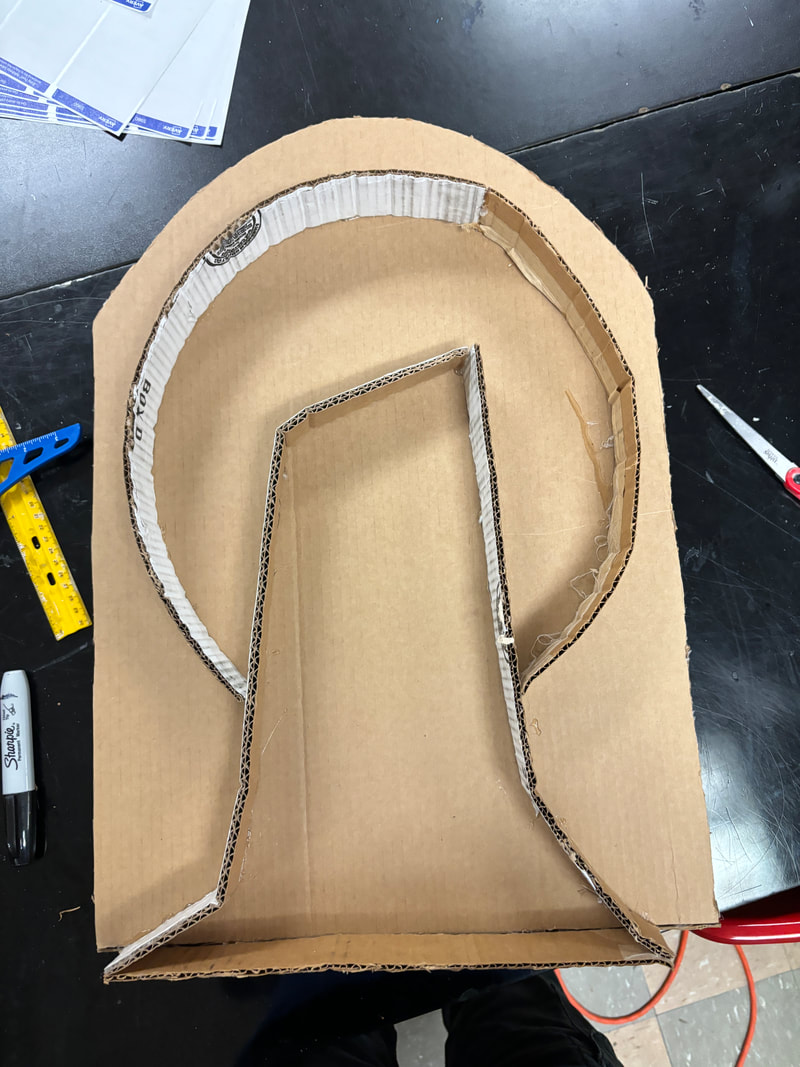
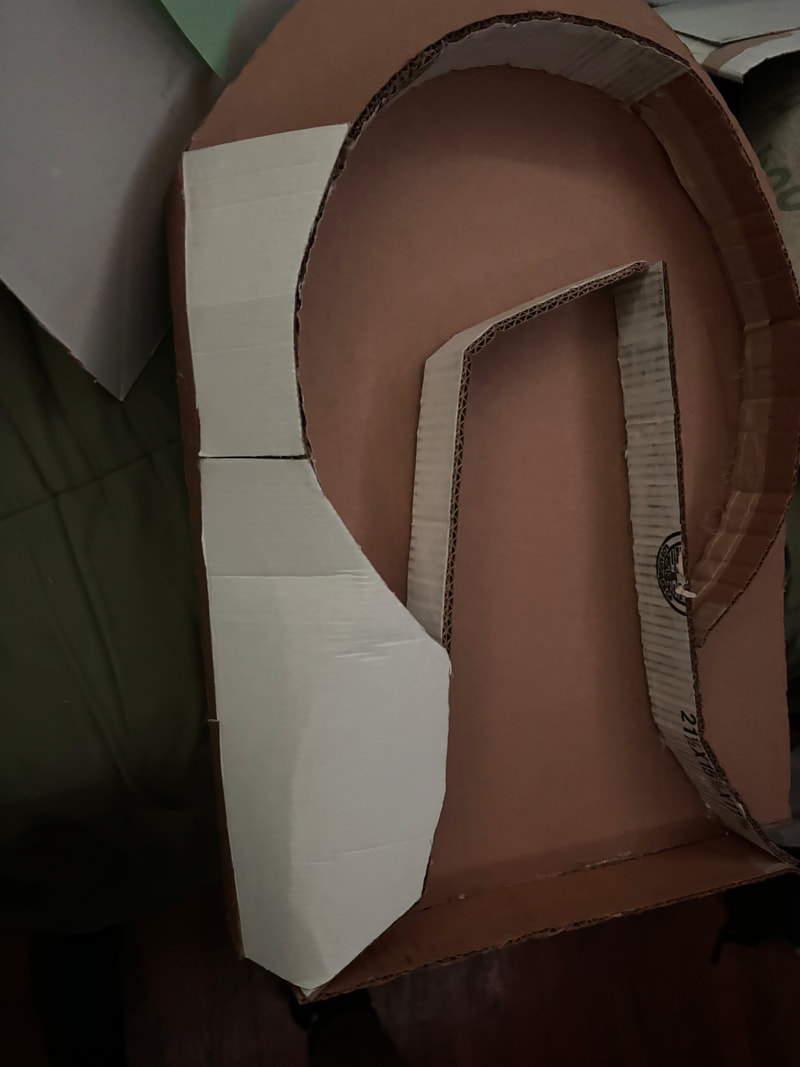
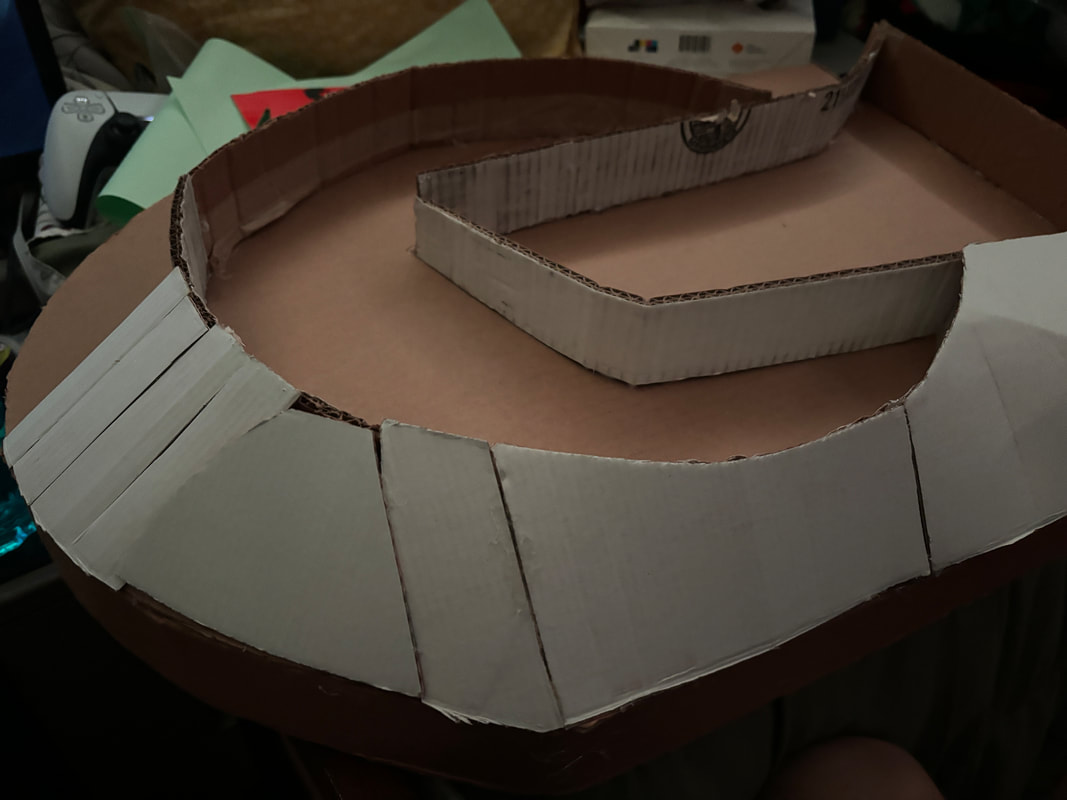
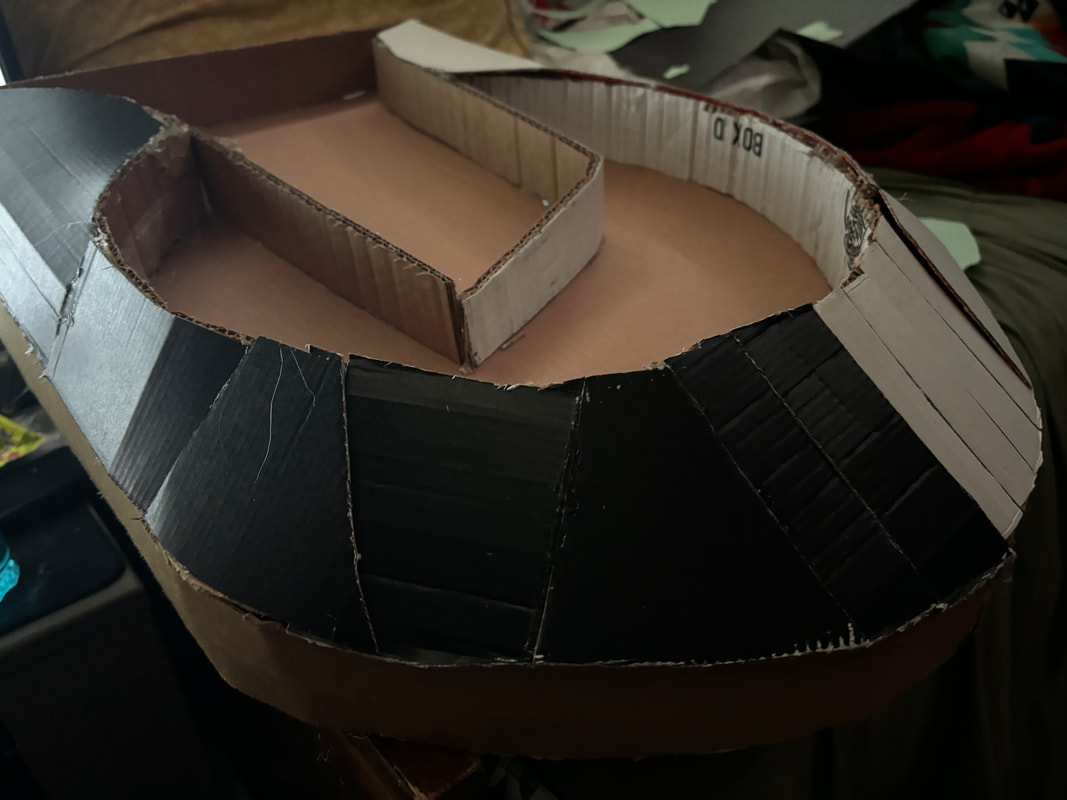
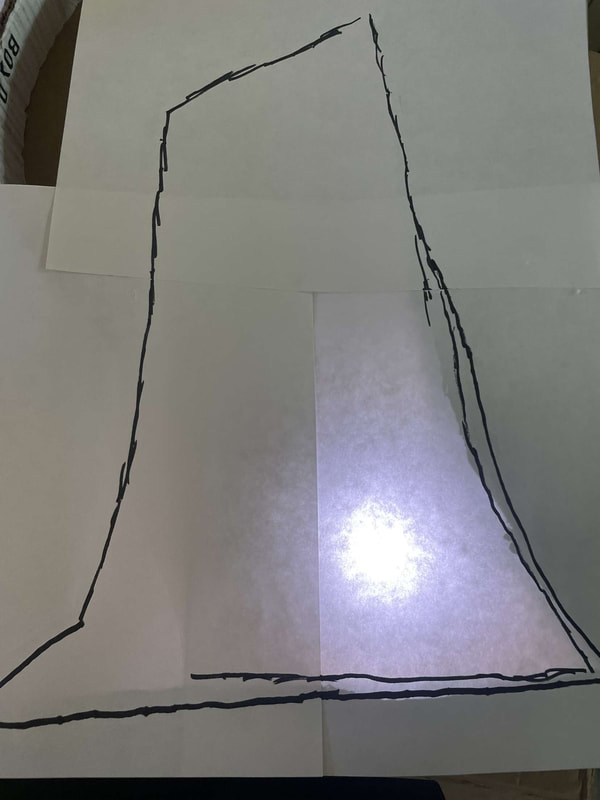
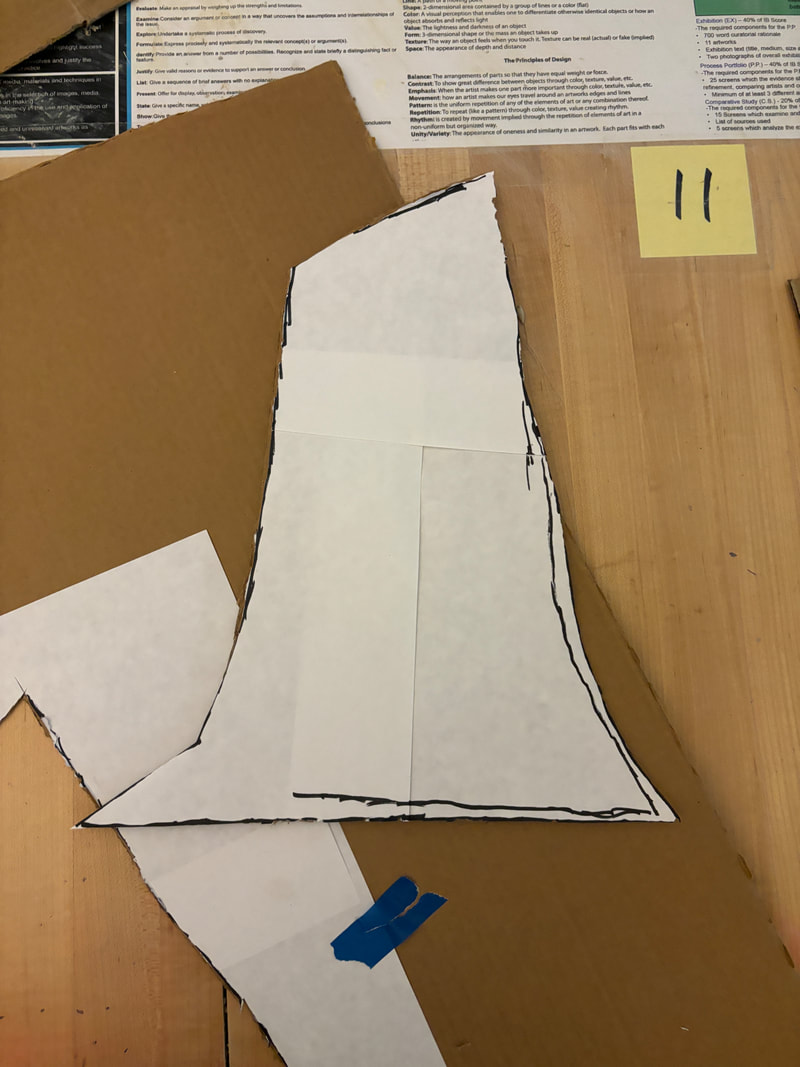
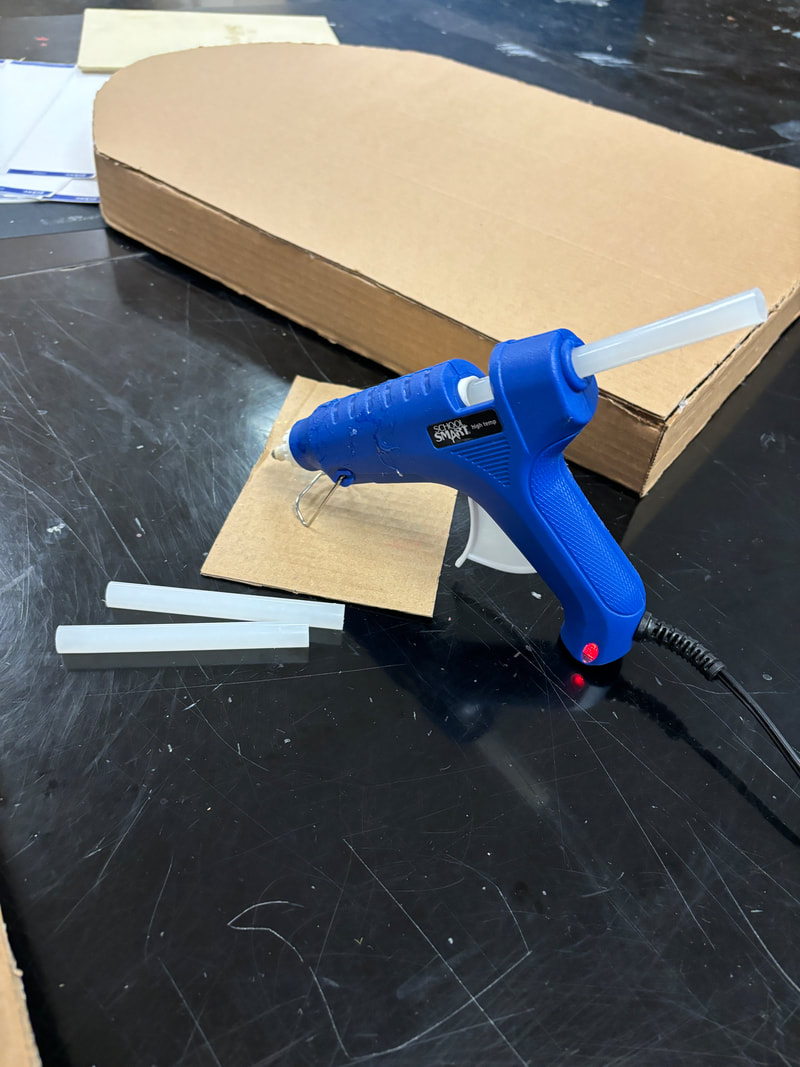
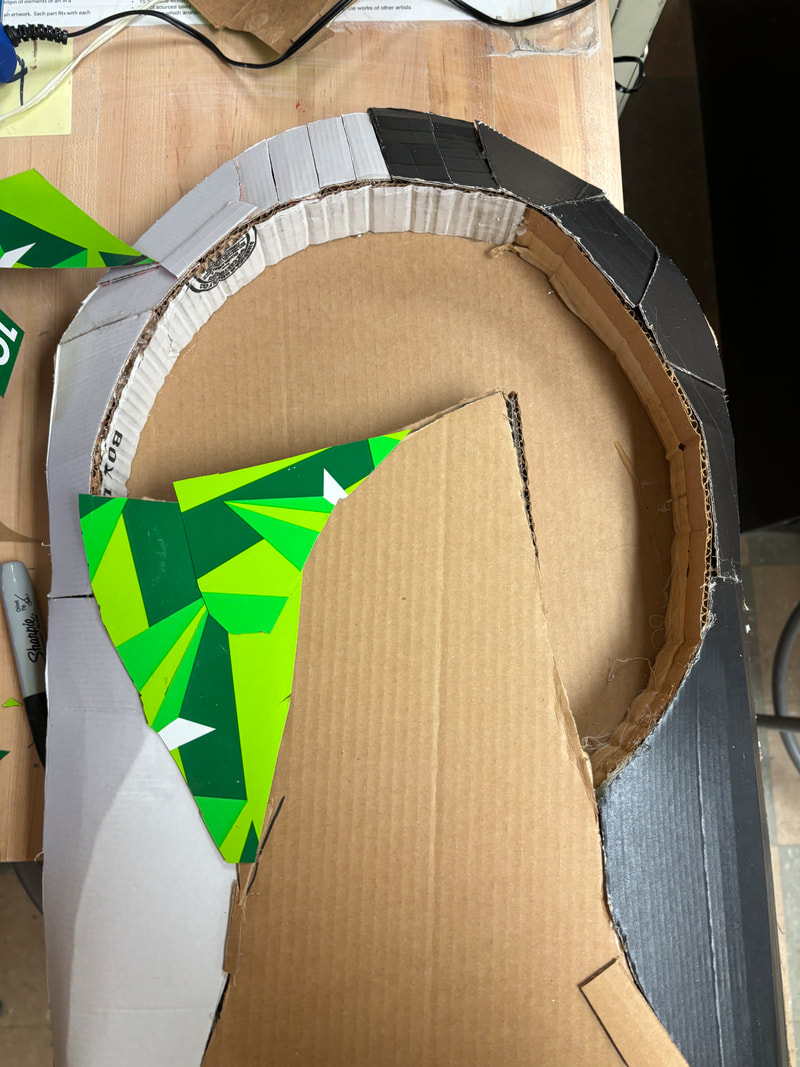
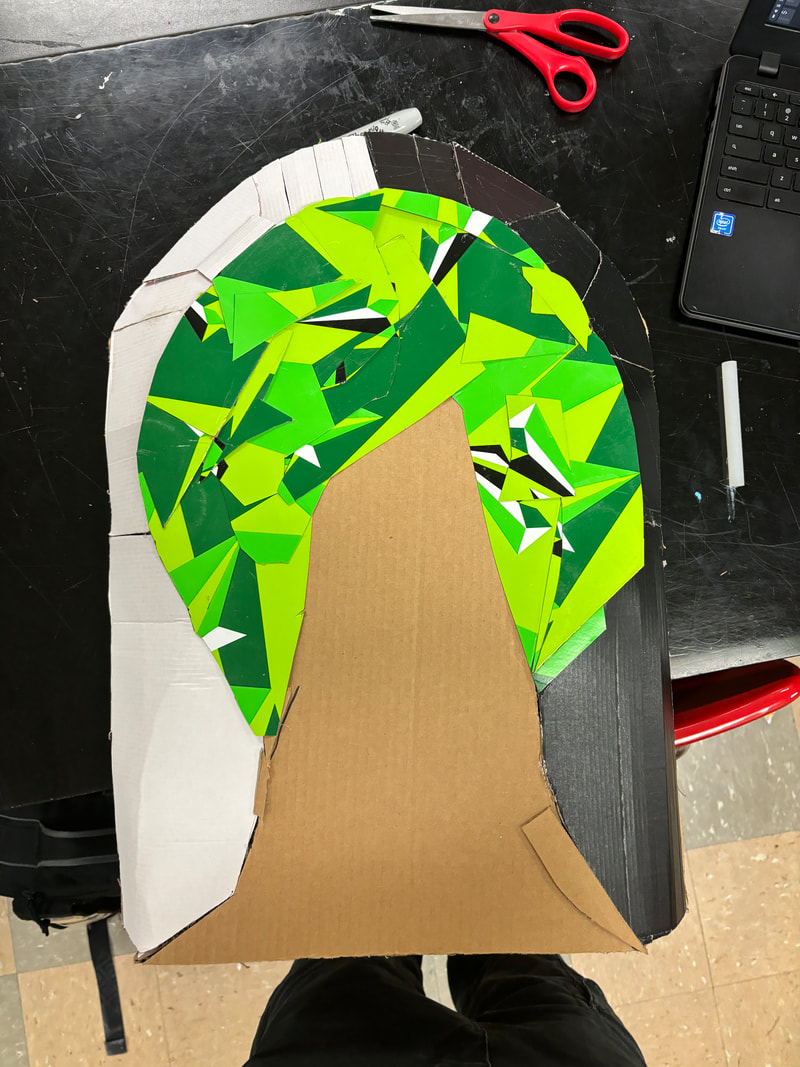
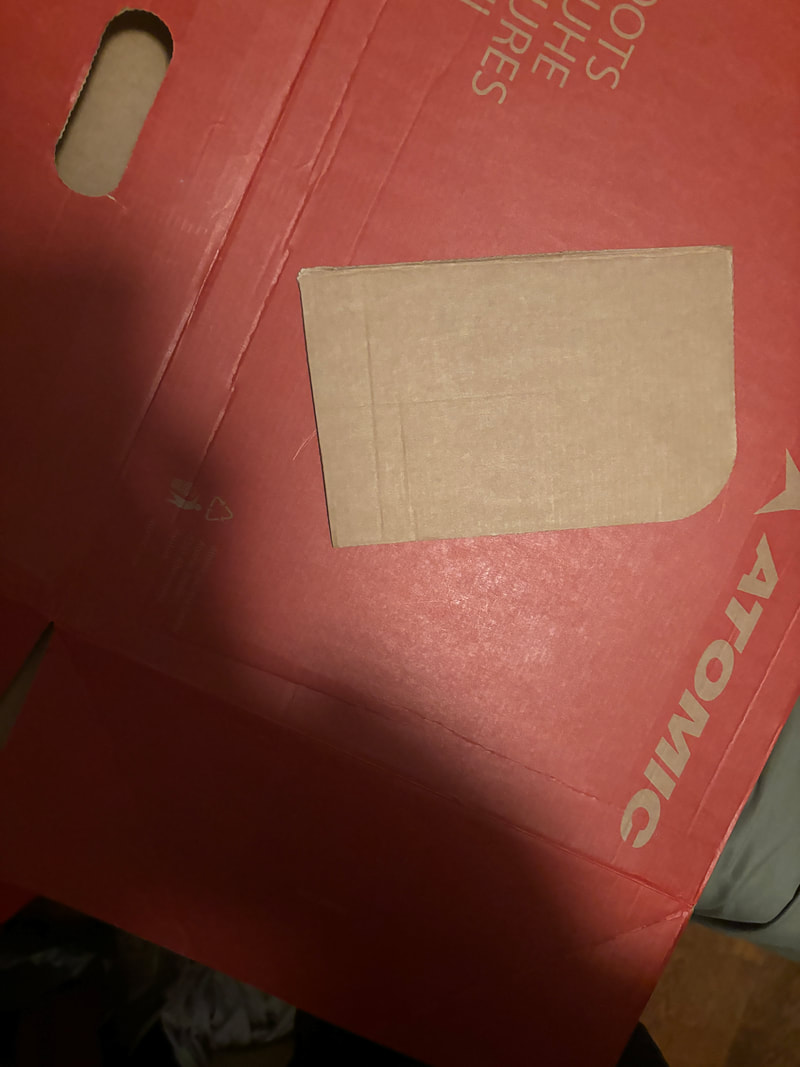
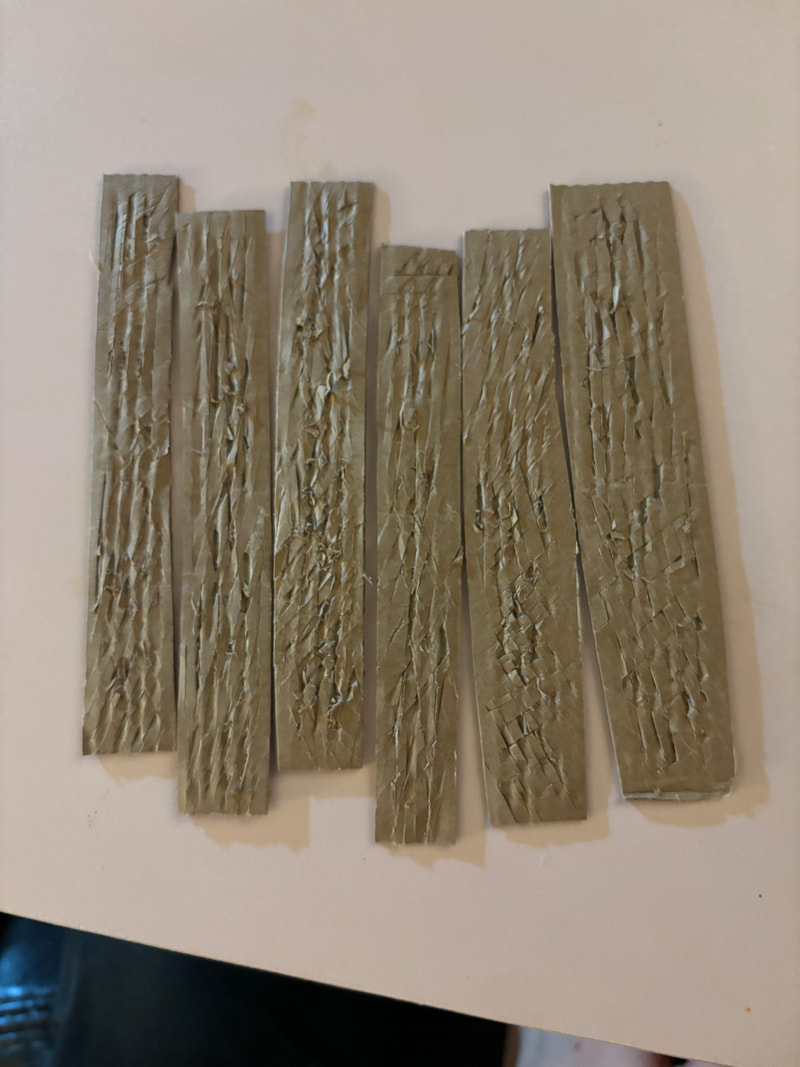
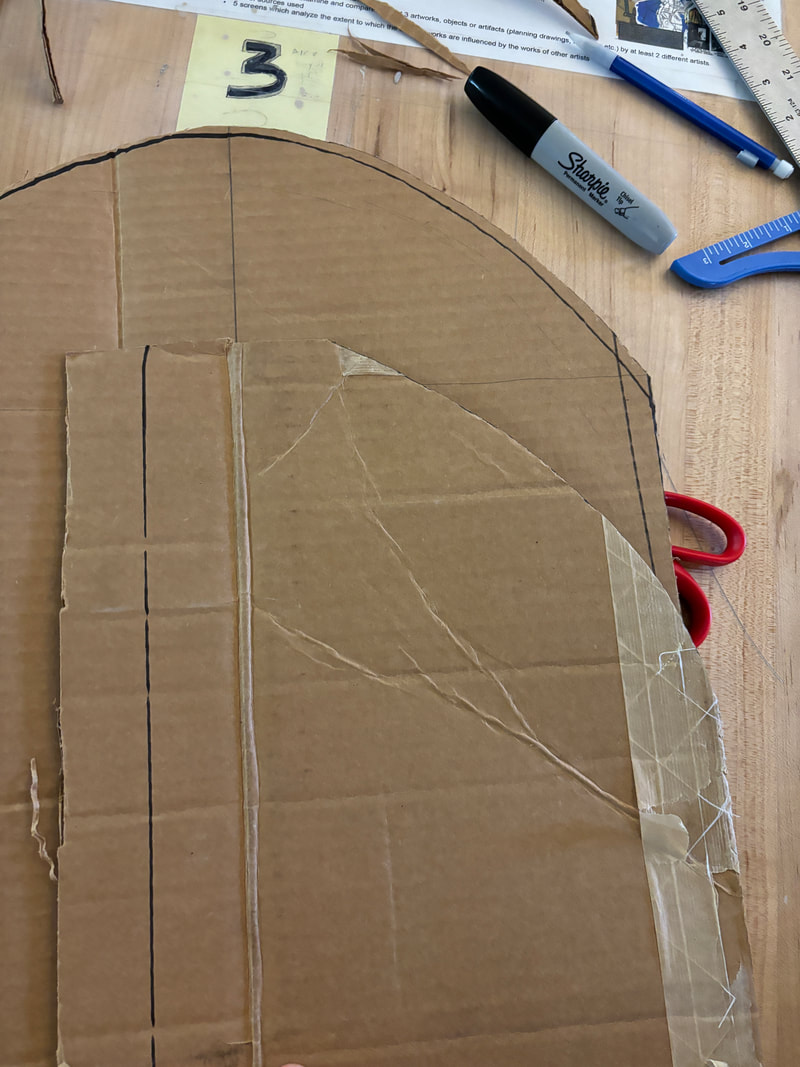
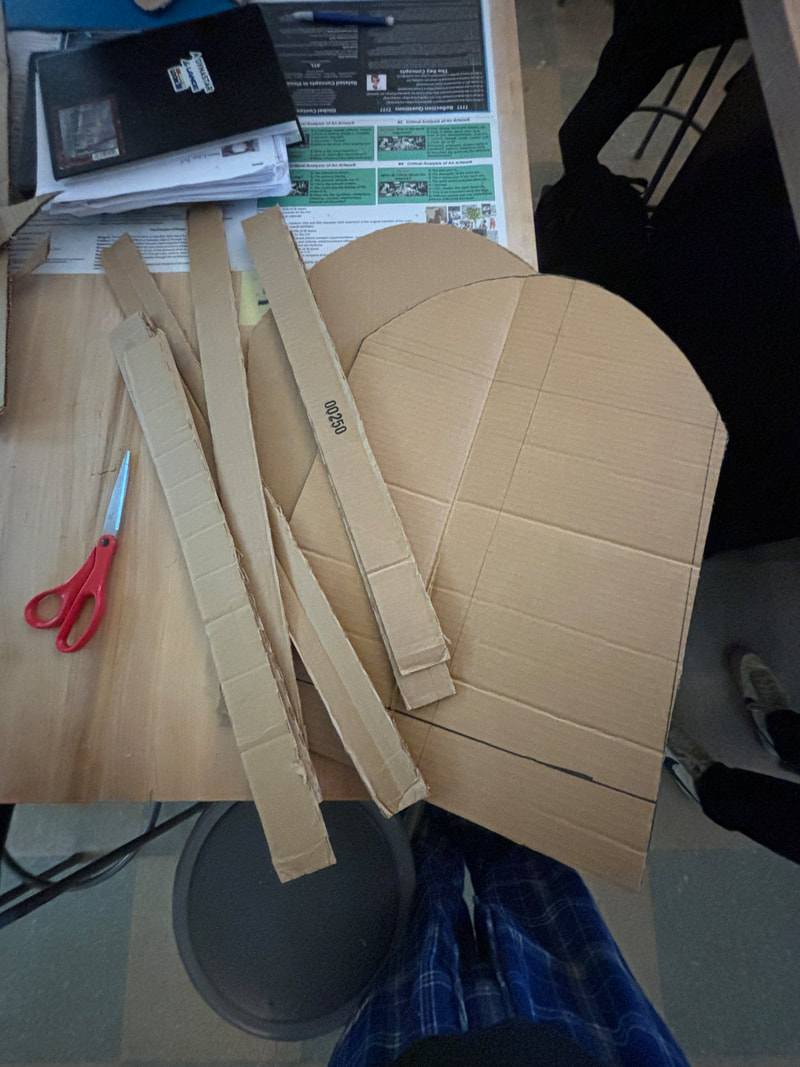
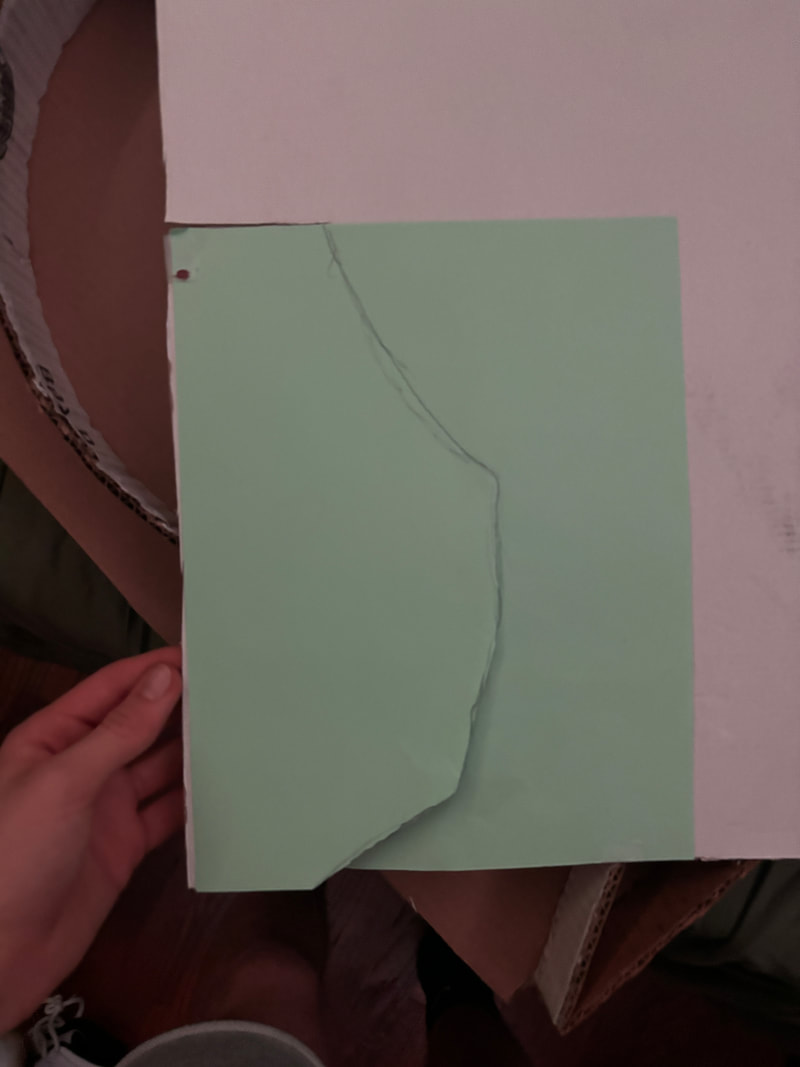
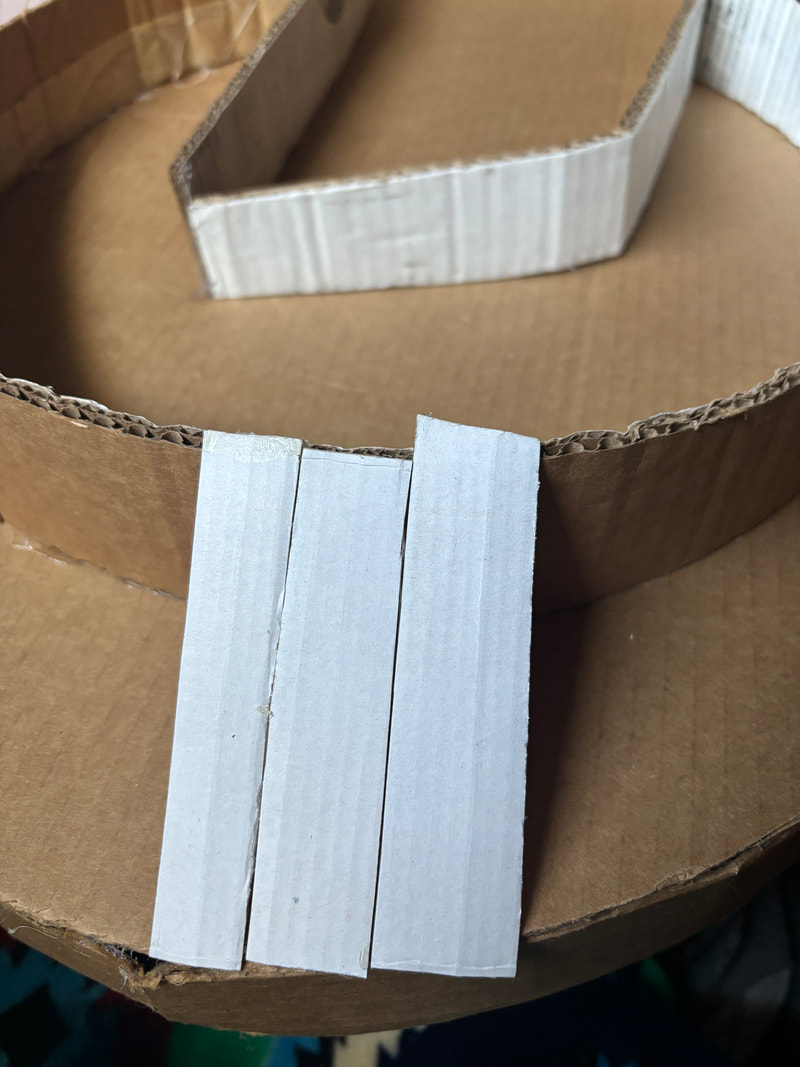
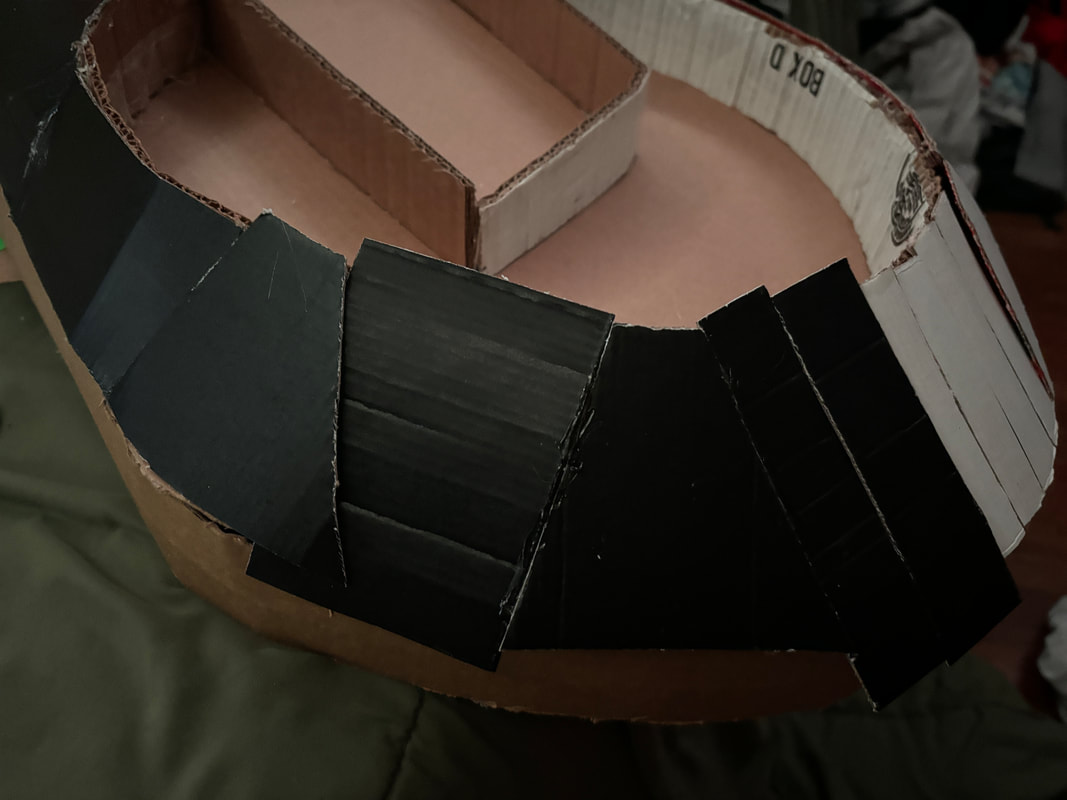
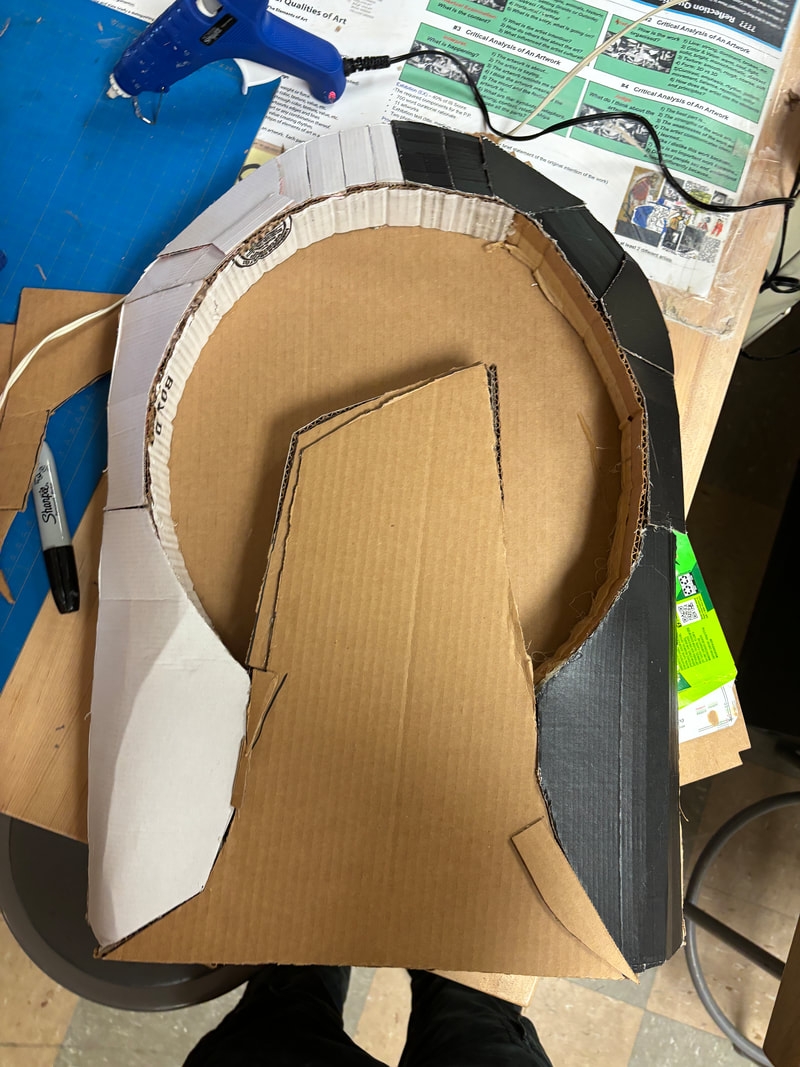
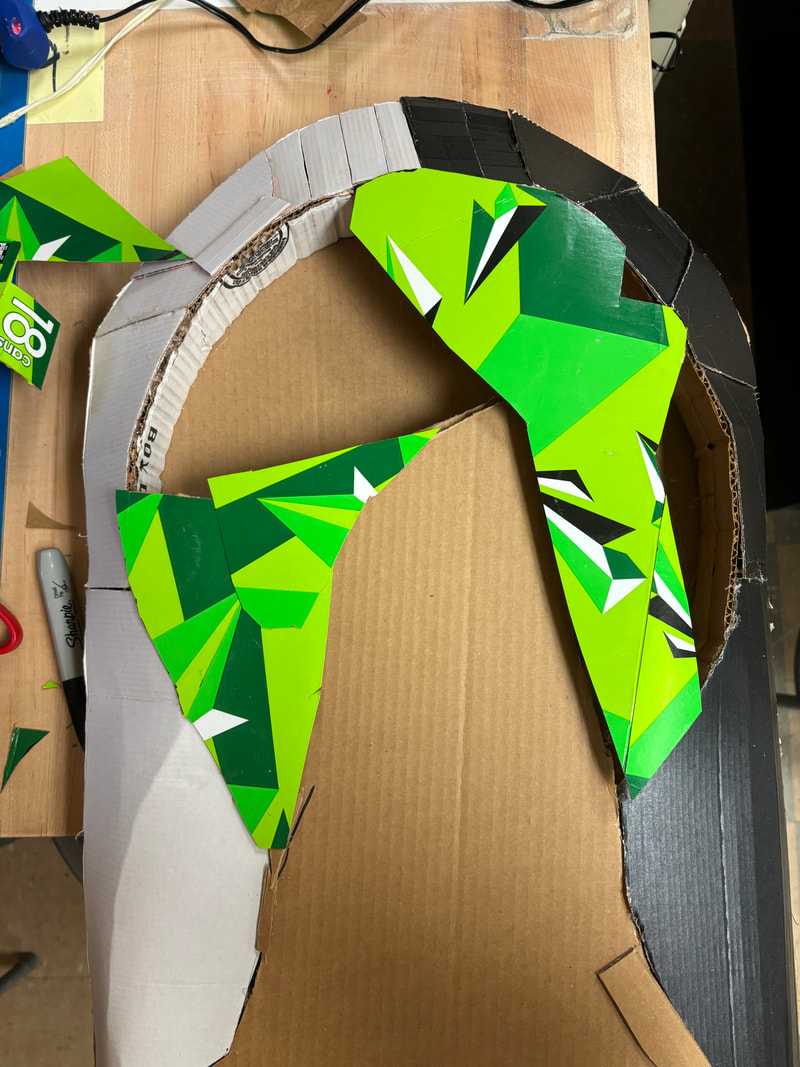
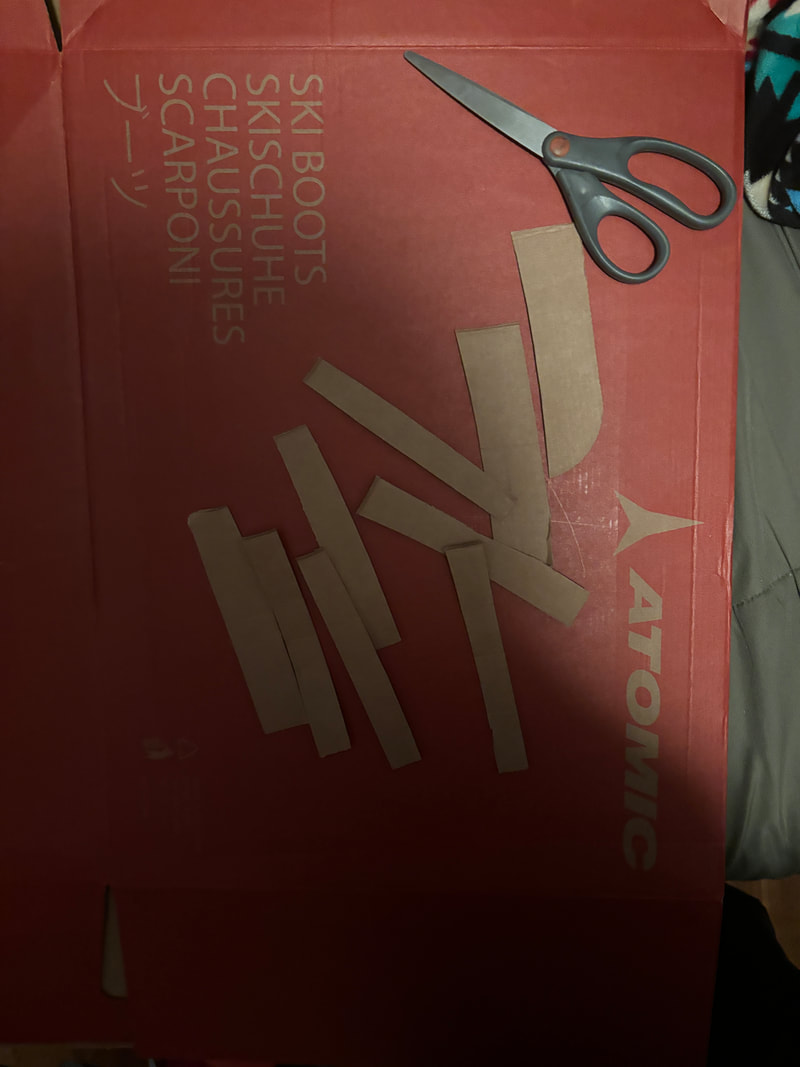
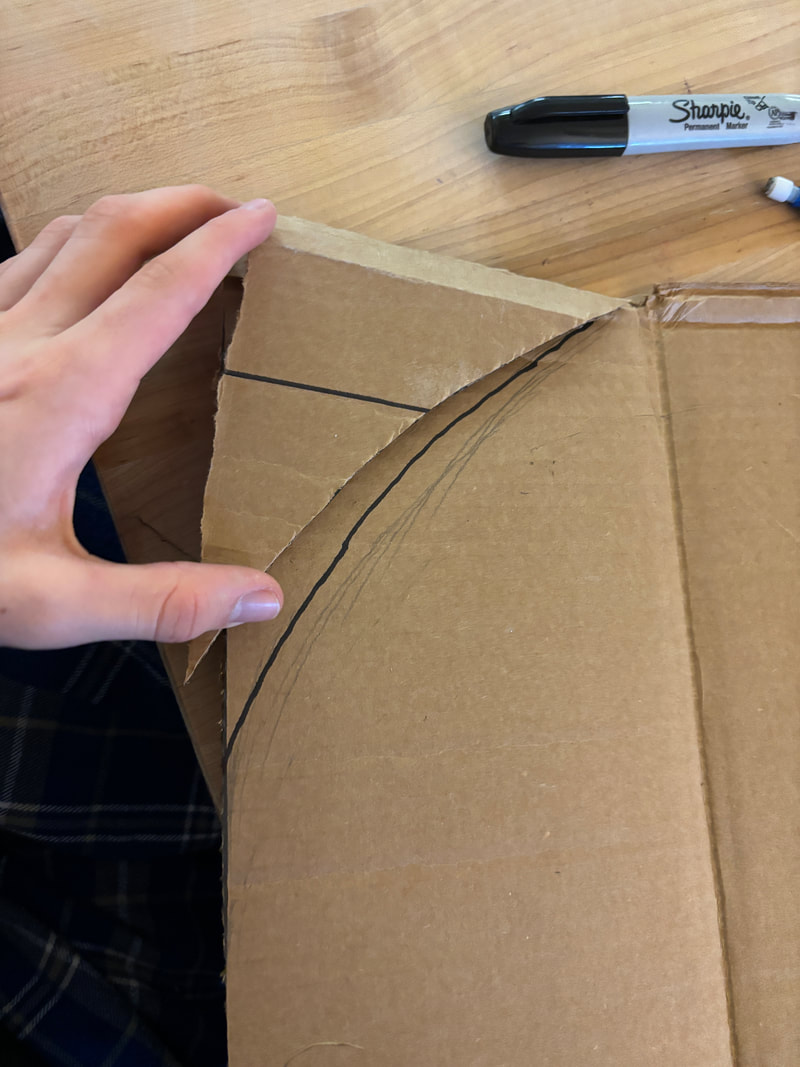
Process I first started with a big piece of cardboard and drew out the shape that I wanted to cut out for the background of my piece. I struggled with making the arc of the shape because it was hard to make it look equivalent on both sides and have the same slope on each side. After I got the arc down I cut the shape out. The next step was to cut out strips that I wanted the width of my back plate. After that I made a copy of the first arc so I can construct the back plate. The next step after making all my shapes was to put them together and I chose to put them together with hot glue because I felt like it would be easier than other adhesives like tape, normal glue or staples. After I put together all my shapes that I had done so far, I had my base that I was going to put directly onto the wall complete. After I had the base of my wall mount I started to build off it to create the main focus of the wall mount. I started by making the outline of the trunk of the tree with putting a flat piece on it's side to add more depth to the piece. After I had the left side of my tree outlined, I cut another piece of cardboard with the same height as the left side of the tree. After I cut out the piece of cardboard, I added it to the back piece to create the rest of the outline for the tree trunk. The next step of this project was to make the outline of the leaves and I started this step with cutting out the a piece of cardboard with the width as the outline of the trunk of the tree. After I had part of my leaves cut out I glued them to the back plate and also to the tree trunk. To finish the outline of this piece, I cut a piece of cardboard with the same width as every other piece of the outline and hot glued it to the rest of the outline and the back plate. After completing this step my outline of my wall mount was complete. Since my outline was done it was time to start adding color that wasn't just brown to my artwork. The next step was to add the angled part of this piece that I planned to make one side white and one side black. I started with the white side and used a piece of paper to measure out what size I needed to make the piece of cardboard. After I drew on the paper, I glued that paper to the cardboard to keep it still while I cut it out and cut the piece of cardboard with scissors. After I had my first piece cut out I glued it to the project to see how it looked together. I liked how the first piece looked so I continued up the wall mount and with these big pieces of cardboard. This ended when I hit the arch of the top of the back plat because the cardboard didn't bend the way I wanted it to. The way I got around this problem was to make little stipes of cardboard to make the rounded look that I wanted at the top. This technique worked but it didn't get the look that I wanted, therefor I put stripe at the bottom and top of the arch and a bigger piece of cardboard in the middle to get the look I was going for. After I had the white part of the background of this piece the next step of this project is to move to the black side. Since I already over came all the struggles on the white side it made the black side so much easier since I knew what to do now. I started the black the same as the white side with the big pieces using the the paper to get the shape of the cardboard. After I got to the arch, I started to make stripes of the black cardboard just how I did it on the white side. I put black stripes at the top and bottom of the arch and put a bigger piece in the center of the right side of the arch. After I put in that piece the background was complete with both the white and black side done. After my background was complete it was time to work on the tree itself and decided to start with the trunk of the tree. To get the shape of the tree trunk, I started by laying three pieces of paper where I wanted to put the trunk and put my phone with the flashlight on beneath the three pieces of paper. After I had that in place I took a sharpie and traced the outline of the tree trunk. After I had the outline traced out I glued it to a big piece of cardboard. Once I glued that piece of paper, I cut the tree trunk out and hot glued the tree trunk to the project. The next step of this project was to add the leaves of the tree, which I started by cutting out a box for mountain dew soda. I chose to use a mountain dew box because I liked the different shades of green on the cardboard and felt like it would make my piece stand out. After I cut apart the box I started with putting big pieces of the cardboard on my project to start filling up that empty space. After I had two big pieces for the leaves I started filling the rest of the space with small pieces of cardboard. After the I filled the space up the leaves were complete. The final step of this project was to add texture to the trunk of the tree. I started this step by cutting little stripes of cardboard. After I had the stripes cut out I textured them by making little slits into the stripes with a exacto blade. After I had the stripes textured I was ready to put it on the trunk of the tree. I put the stripes on the tree with hot glue to keep it secure. After that step my project was complete and finished. Reflection Based on how this project turned out I would say I succeeded because it looks how I imaged it in my head and the sketches I made of it. I think I did a good job at overcoming challenges that I come upon while making this piece like the arch of the back plate and the background while going over the arch. I think the best thing I did during this project was build everything off of each other because it helped me know how big I needed to make each piece. One of my favorite things about this piece is that the two art elements that I focused on, can be seen very easily. The two elements of art I focused on are color and texture which are two of the main parts of this project. If I did this project again I use an exacto knife for the whole project because it made much cleaner cuts than the scissors that I used during this whole project. Critique Taking a look at my piece and inspiration "Union II" by Yaacov Agam, there are many similarities between the two. The first similarity is that looking at each piece head on you can see the both the lighter and darker colors but one you looking at it on the side of the piece you can only see the side you are looking at it from. The second similarity between these two pieces are that on the right side of each piece are darker or cooler colors and on the right side of each piece there are lighter or warmer colors. The last similarity between these two pieces are the colors that make it stand out. These bright colors help both of these pieces move the viewers eyes around the piece. Experimentation The main thing that i experimented with was the arch of the back plate because it was the first time I was trying to cut the cardboard and make it the same on both sides of the arch. The way I experimented with this is trying different techniques to try to make it even. The first way I did this was to draw a line from one bottom of the arch to the other which helped me start them at the same height but didn't help me with having the same slope down each arch. The second way I tried was to cut one side out and flip it over and use that to trace the outline of the slope, which worked very well because it got the look I was going for. The second main thing that I experimented with was putting the background onto the arch because I couldn't place big pieces of cardboard on the arch. To get around this problem I experimented with tiny stripes of cardboard to make the cardboard bend better. This experiment was a success because it made the background how I wanted it to and looked much better than the big pieces. ACT Questions Clearly explain how you are able to identify the cause effect relationship between your inspiration and its effect on your artwork. My inspiration clearly affected my artwork because both my artwork and inspiration look different and change colors as you look at it from different angles. What is the overall approach the author has regarding the topic of your inspiration? The approach Yaacov Agam took while making "Union II" was how he would make the artwork look different depending on how you look at it and by what angle it is being looked at. What kind of generalizations and conclusions have you discovered about people, ideas, culture, etc. while you researched your inspiration? While researching Yaacov Agam and "Union II", I have discovered that Yaacov Agam was one of the most influential modernist artists and did this through transformation art. What is the central idea or theme around your inspirational research? The central theme behind this piece is motion of art as Yaacov Agam used as the main theme has most of his pieces. What kind of inferences did you make while reading your research? The inference that I made while researching was that Yaacov Agam was a much larger artist than I thought because I grew up looking at this piece in the Milwaukee Art Museum and thought he was just a artist that made one piece of art. MLA Citation Joe. “Yaacov Agam.” Park West Gallery, 14 Nov. 2018, www.parkwestgallery.com/artist/yaacov-agam/. Accessed 07 Mar. 2024. “Milwaukee Art Museum.” Collection, collection.mam.org/details.php?id=2069. Accessed 07 Mar. 2024. Giambalvo, Haeley. “How to Turn a Cardboard Box into Wall Art!” Design Improvised, 12 Apr. 2021, designimprovised.com/2016/07/how-to-turn-cardboard-box-into-wall-art.html. Accessed 07 Mar. 2024. |
